We all know how much of a relief it is to have a cool home when summer’s heat is bearing down on us. But if your air conditioning system isn’t running at its best, you might not be getting the full benefit of that sweet, cool air. One part of your AC that’s often overlooked but plays a huge role in keeping things chilled is the evaporator coil.
In this post, we’ll take you through everything you need to know about cleaning your evaporator coil — why it’s important, how to do it, and when to call in the pros. Let’s dive in!
WHAT IS AN EVAPORATOR COIL, ANYWAY?
Your air conditioner works by circulating cool air throughout your home, and the evaporator coil is an essential part of that process. This coil, which looks like a series of metal fins wrapped around copper tubing, sits inside your indoor AC unit. As warm air blows over the cold coil, the refrigerant inside absorbs heat from the air, cooling it down before it’s blown back into your rooms.
But over time, dirt, dust, and even mold can build up on the coil, making it harder for the system to absorb heat. When this happens, your AC has to work harder, which can lead to higher energy bills, poor airflow, and even system breakdowns.
WHY CLEAN THE EVAPORATOR COIL?
It might seem like a small thing, but keeping your evaporator coil clean is one of the easiest ways to keep your AC running smoothly. Here’s what happens if the coil gets too dirty:
- Reduced Efficiency: When dirt builds up, it acts like insulation, making it harder for the coil to absorb heat. Your AC will need to run longer to cool your home.
- Higher Energy Bills: Because the system has to work harder, you’ll see a bump in your energy costs. No one wants to pay more for less cool air!
- Poor Airflow: Dirty coils can restrict air movement, which can result in hot spots around your home and uneven cooling.
- Potential for Frozen Coils: A clogged coil can freeze up, which can cause the whole system to fail. This is something you definitely want to avoid!
Cleaning the coil helps your AC run more efficiently, reduces wear and tear, and can even improve your indoor air quality. That’s a win all around!
TOOLS & SUPPLIES YOU’LL NEED.
Before you get started, make sure you have the right tools. Here’s what you’ll need:
- Screwdriver (to open the access panel).
- Soft brush or fin comb
- Spray bottle with mild detergent and water
- Commercial coil cleaner (optional)
- Compressed air or wet/dry vacuum (optional)
- Protective gloves and eyewear (safety first!)
A STEP-BY-STEP GUIDE TO CLEANING YOUR EVAPORATOR COIL
- Turn Off the Power: First thing’s first — safety. Make sure to turn off the power to your AC system at both the thermostat and the breaker box. This will help prevent any accidents while you’re working.
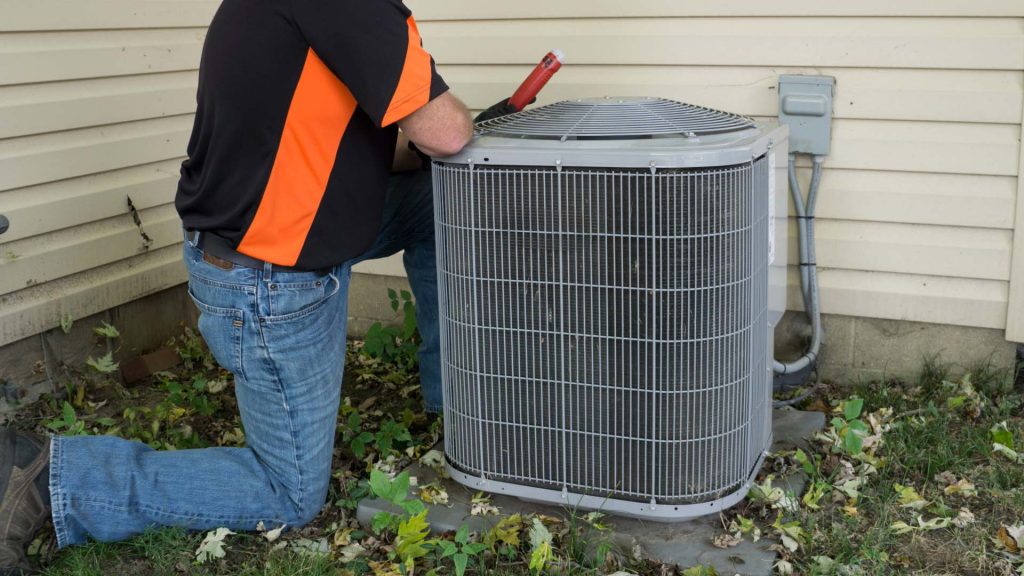
- Access the Coil: Next, find your indoor air handler (the part of your AC that sits inside your home) and remove the access panel with a screwdriver. You should see the evaporator coil inside.
- Inspect the Coil: Take a good look at the coil. If you spot dirt, dust, or mold, don’t worry — that’s totally normal. But if you see something more serious, like heavy debris or buildup, it might be time to call in a pro.
- Brush Off Loose Dirt: Use a soft brush or fin comb to gently remove any loose dirt or dust from the coil. Be extra careful not to bend the fins — they’re delicate! If you have a wet/dry vacuum or compressed air, you can use that to blow away any stubborn dirt.
- Apply Cleaner: Now, grab your mild detergent solution or commercial coil cleaner. Spray it generously onto the coil and let it sit for about 5–10 minutes to break down the grime. If you’re using a commercial cleaner, make sure to follow the instructions carefully.
- Rinse or Wipe: If your coil is designed to be rinsed, you can gently wipe it down with a damp cloth or use a spray bottle with clean water to rinse away the cleaner. Avoid over-saturating the coil — you don’t want excess water dripping into the system.
- Let it Dry: Once you’ve rinsed or wiped down the coil, let it dry completely before reassembling the access panel. This will prevent moisture from getting trapped inside the system.
- Restore Power & Test: Now that everything’s dry and back in place, turn the power back on and check to make sure your AC is running smoothly. You should feel a nice, cool breeze as your system does its thing.
HOW OFTEN SHOULD YOU CLEAN THE COIL?
We recommend cleaning your evaporator coil at least once a year, ideally before the peak cooling season kicks in. If you have pets, allergies, or live in a dusty area, consider cleaning it more frequently — every 6 months might be a good idea.
WHEN TO CALL A PRO.
While cleaning your evaporator coil is a relatively simple task for most homeowners, there are times when it’s best to call in a pro. Here’s when:
- Hard-to-Reach Coils: If your coil is located in a tricky spot or is difficult to access, it’s better to let a professional handle it.
- Heavily Soiled Coils: If there’s a lot of buildup or mold, a professional HVAC technician will have the tools and chemicals to safely clean the coil without causing damage.
- Frozen Coils: If your coils are frozen or you’re noticing any signs of system failure, it’s time to bring in a pro to diagnose the issue.
FINAL THOUGHTS.
Cleaning your air conditioning evaporator coil is an easy way to keep your AC running efficiently, save on energy costs, and maintain a cool, comfortable home. It’s a simple task that you can do yourself, but if you’re not up for the DIY job, don’t hesitate to call a professional to handle the dirty work.
Want to make sure your AC is in top shape for the season? Give Battle River Plumbing & Heating a call at 780-672-2847 today to schedule an HVAC tune-up. We’re always happy to help you stay cool!